A Pipeline From Scratch
Prerequisites
I'm assuming
- you have web access to a running Concourse CI instance (spin up a local docker-based instance), and
- you're able to authenticate the
flyCLI tool against it, like so:
fly -t ci login -c http://localhost:8080
You're now a pipeline sculptor, and fly is your chisel. We'll use it
repeatedly to (re-)set the pipeline over and over. There are many subcommands to
fly, but the one sequence you should learn by heart is set-pipeline with its
parameters:
fly -t ci set-pipeline -p my-pipeline -c pipeline.yml
-tspecifies the aliased targetciof the Concourse instance-pinstructs fly to usemy-pipelineas the name of the pipeline-cpoints at a YAML file with the pipeline definition
Two more remarks:
- I recommend using the
spshorthand forset-pipeline - Sometimes we'll interpolate variables into the pipeline from the external file, and we'll use the
-lswitch to do that.
Okay, that's it. Store the following in your muscle memory and let's get on with sculpting:
fly -t ci sp -p my-pipeline -c pipeline.yml [-l vars.yml]
Pipeline Skeleton
At a minimum, a pipeline definition must contain at least one job. Here is a job with no inputs or outputs that does precisely nothing, other than letting us set the pipeline.
---jobs:- name: test-and-build
We'll use simple as the name when setting this pipeline. We'll see something
like this:
$ fly -t ci sp -p simple -c pipeline.ymljobs:job test-and-build has been added:+ name: test-and-build+ plan: nullpipeline name: simpleapply configuration? [yN]: ypipeline created!you can view your pipeline here: http://localhost:8080/teams/main/pipelines/simplethe pipeline is currently paused. to unpause, either:- run the unpause-pipeline command:fly -t ci unpause-pipeline -p simple- click play next to the pipeline in the web ui$
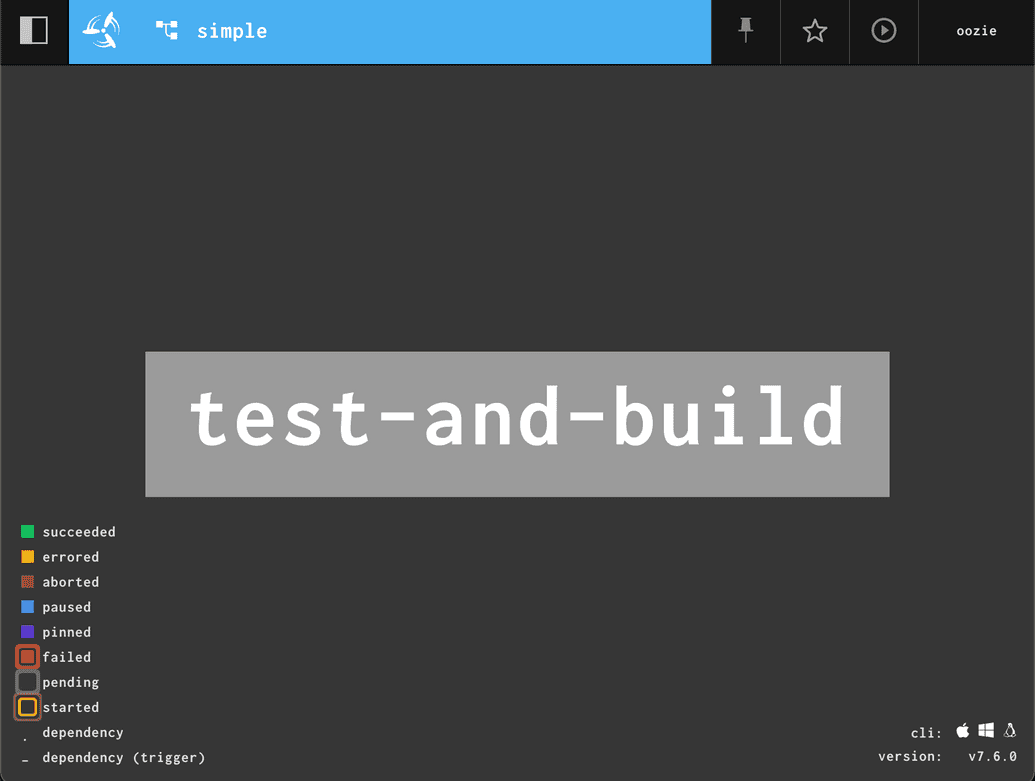
Let's follow the link to the UI. You should find a grey rectangle:
Let's interpret what we see, from top left corner
- The black square with two rectangles is a foldable sidebar, that allows you to jump between pipelines.
- Next, Concourse's Propeller will hyperlink you to the pipelines dashboard.
- The top appbar is blue (in Concourse synonymous with
pause), that means the pipeline has only been created and must be unpased for jobs to run. - Next, pinned resources info (none yet)
- A star toggle
- Unpause button - hit it to unpause the pipeline
- The loggin of the user logged into the Concourse instance
- In the middle of the canvas a
test-and-buildjob. It's greyed out because it never ran before. If you move the mouse on the canvas, left bottom corner will display a legend of all other possible pipeline states. - Finally, the UI allows you to download a matching version of
flyCLI from the right bottom corner.
Click through onto the gray square and let's look inside the job.
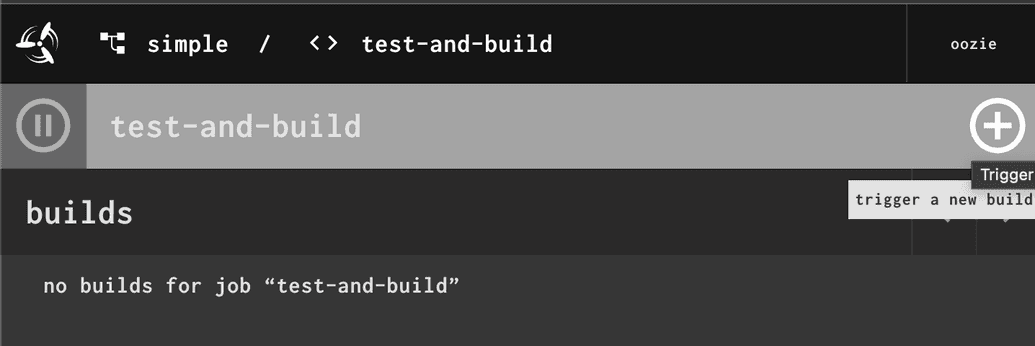
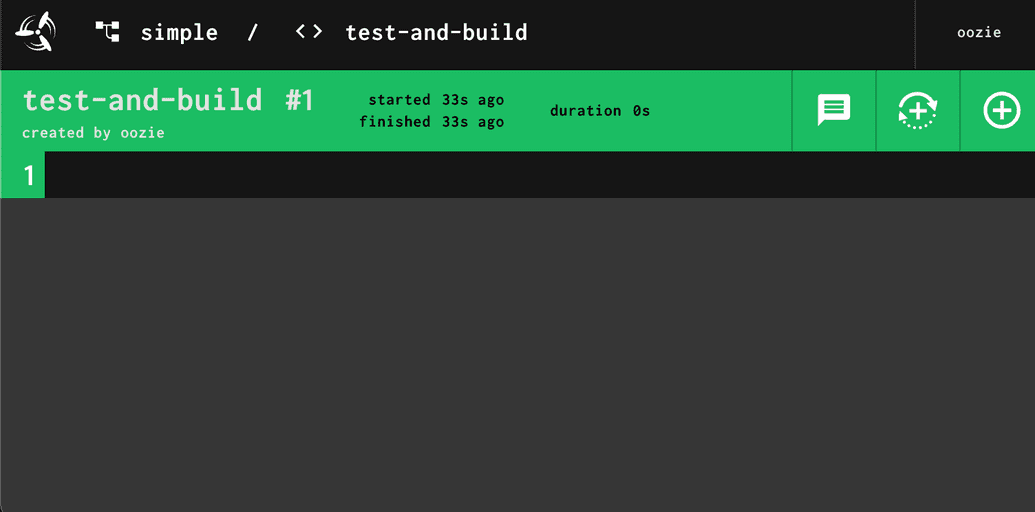
Look for an encircled + sign in the right top corner. This particular job takes no inputs, so the only way to trigger its execution is to click on that button. Go ahead!
Now the job appbar has turned green, with a small numnber 1 underneath (a job
log) and job timing info (start time, duration). A new icon next to an encircled plus - a partially encircled plus: this will give us an option later to manually trigger the build with exactly the same set of inputs or rerun the job with a set of most recent available inputs. Useful when tracking down flakiness. At this point our pipeline takes no inputs, so we'll revisit that point later.
Test and Build
Doing nothing is a really low bar for success, let's get our job to actually do some work. We will
- add a resource in the
resourcessection - a git repository with code, - define a base image for the task in our job
- run a command listing the contents of our build workspace
The pipeline now looks as follows:
resources:- name: code-reposource:branch: mainuri: https://gitlab.com/oozie/example.gittype: gitjobs:- name: test-and-buildplan:- get: code-repotrigger: true- task: buildconfig:image_resource:source:repository: alpinetype: docker-imageinputs:- name: code-repoplatform: linuxrun:path: /bin/shargs:- -c- |find .
Note that we set trigger: true under the code-repo input. So any incoming version (a commit) will trigger the execution of the job.
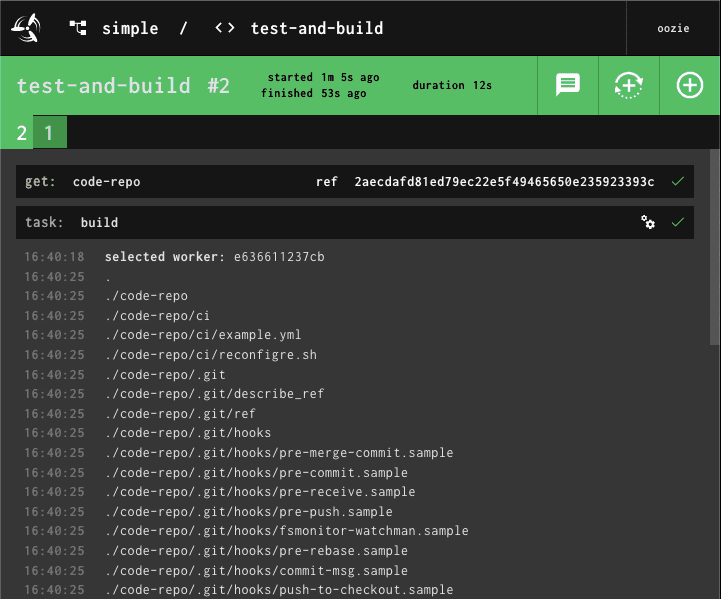
Go ahead and set the pipeline with fly. Try to type in the command from memory. By the time you're done, the commits from code-repo will have triggered a job run and you'll see something like this:
We're now at the job log number 2. The output from the job is the stdout from
the find command. Note the layout of the build container: the build starts in
a working directory one-level above the code-repo input. In other words, to work
with the code in code-repo , you need to first change the working directory to
enter it. This is different from most CI systems: while other CIs typically accept a single input - a repo with code -
Concourse allows for multiple arbitrary inputs and outputs from each task in a job.
Now, let's get our job to do some useful work.
- Change the build image to
golang - Add an output called
build - update the commands to actually test and build, as follows:
resources:- name: code-reposource:branch: mainuri: https://gitlab.com/oozie/example.gittype: gitjobs:- name: test-and-buildplan:- get: code-repotrigger: true- task: buildconfig:image_resource:source:repository: golangtag: 1.19-bullseyetype: docker-imageinputs:- name: code-repooutputs:- name: buildplatform: linuxrun:path: /bin/shargs:- -c- |set -euxcd code-repo# Setup dependenciesgo mod tidygo get github.com/onsi/ginkgo/v2/ginkgogo install github.com/onsi/ginkgo/v2/ginkgo# Test, looking for tests recursivelyginkgo -r# Build and place in the output directory.go build -o ../build/fetcher-linux-amd64 cmd/main.go
Now set-pipeline with fly. Remember how to do this? Great. Since no new commits are
coming into the repo, you must go to the Concourse UI and click on the encircled
plus to rerun the job. Go ahead!
At this point, we tested and built the code, but the artifact
(fetcher-linux-amd64) remains within Concourse's build container.
Uploading Artifacts
Let's upload our binary to S3 now:
- Create a versioned bucket in S3, I'll use
s3://concourse-farm-releases - Create a file creds.yml with your access and secret keys:
AWS_DEFAULT_REGION: "us-east-1"AWS_ACCESS_KEY_ID: "[your access key ID]"AWS_SECRET_ACCESS_KEY: "[your secret key]"
- Extend the
resourcessection of the pipeline by our destination resourcebinary-linux
- name: binary-linuxtype: s3source:access_key_id: ((AWS_ACCESS_KEY_ID))secret_access_key: ((AWS_SECRET_ACCESS_KEY))region_name: ((AWS_DEFAULT_REGION))bucket: concourse-farm-releasesversioned_file: binaries/fetcher-linux-amd64
- Append a
putstep to theplanlist of our job:
- put: binary-linuxparams:file: build/fetcher-linux-amd64
- Set the pipeline with the
flycommand, this time using our credentias:
fly -t ci set-pipeline -p simple -c pipeline.yml -l creds.yml
- Trigger the job with an encircled pipeline.
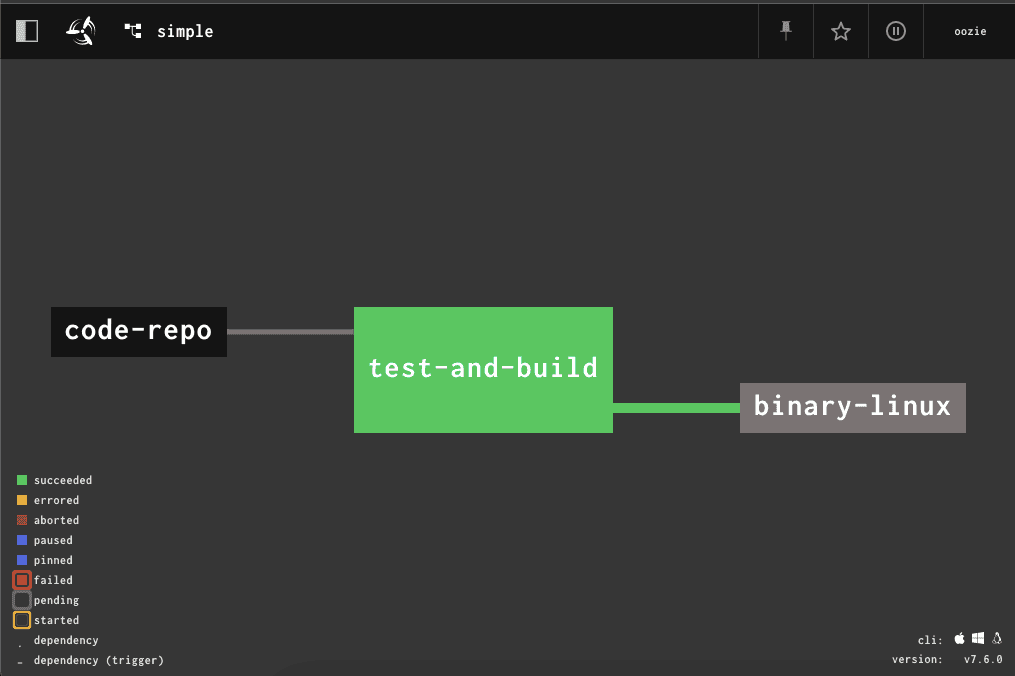
The pipeline should look like this now:
- It's a single-job pipeline with one input and one output
- The
code-repoinput triggers the pipeline (solid line connecting the resource to the job) - On completion,
binary-linuxresource is published (put) to S3
